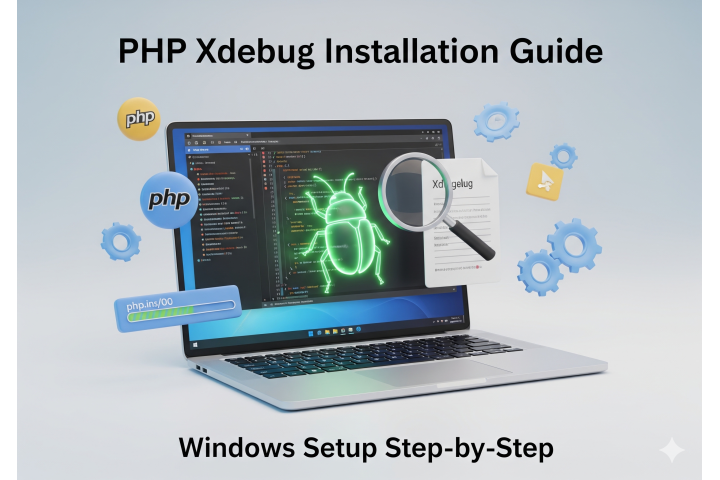
This guide outlines the steps to install and configure Xdebug for PHP on a Windows environment.
1. Download the Appropriate Xdebug DLL
Visit the official Xdebug downloads page to obtain the DLL that matches your PHP version:
https://xdebug.org/download#releases
2. Rename and Move the DLL File
Rename the downloaded file to `php_xdebug.dll` and move it to the `ext` directory within your PHP installation path (e.g., `C:\php\ext`).
3. Update php.ini Configuration
Open your `php.ini` file and add the following configuration:
[xdebug]
zend_extension=xdebug
xdebug.mode=debug
xdebug.client_host=127.0.0.1
xdebug.client_port=9003
Ensure that the `zend_extension` directive points to the correct path of the `php_xdebug.dll` file.
4. Restart Your Web Server
After saving the changes to `php.ini`, restart your web server to apply the new configuration.
5. Verify Xdebug Installation
Create a PHP file with the following content to verify that Xdebug is enabled:
<?php
phpinfo();
Access this file through your web browser and look for the Xdebug section in the output.