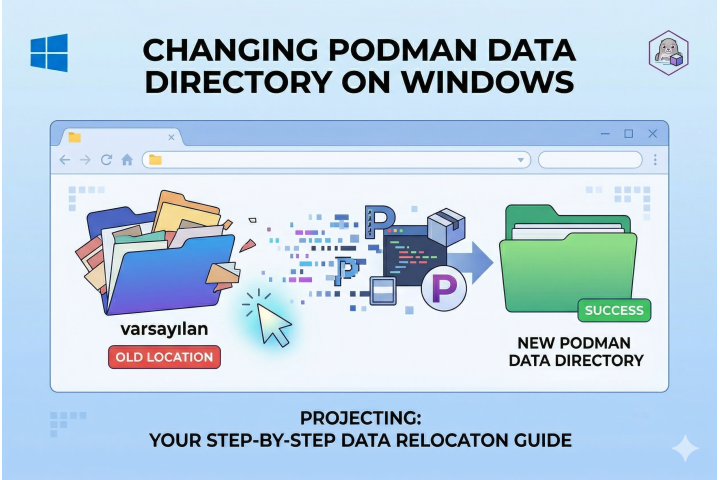
This guide outlines the steps to change the Podman data directory on a Windows environment by exporting and importing the WSL instance.
1. Stop the Podman Machine
Execute the following command to stop the Podman machine:
podman machine stop
2. Export the WSL Instance
Export the existing WSL instance to a backup file:
wsl --export <<instance_name>> backup.tar
3. Unregister the WSL Instance
Unregister the current WSL instance:
wsl --unregister <<instance_name>>
4. Import the WSL Instance to New Location
Import the WSL instance to the desired new path:
wsl --import <<instance_name>> <<new_path>> backup.tar --version 2
5. Start the Podman Machine
Start the Podman machine:
podman machine start
Example Usage:
First, list the available WSL instances to identify the Podman instance:
wsl -l -v
Assuming the instance name is podman-machine-default, execute the following commands:
podman machine stop
wsl --export podman-machine-default backup.tar
wsl --unregister podman-machine-default
wsl --import podman-machine-default <<new_path>> backup.tar --version 2
podman machine start
This process effectively relocates the Podman data directory to a new location on your Windows system.